Unplanned downtime in an industrial facility can be expensive. Thus, it’s critical to limit such downtimes to a bare minimum. Technicians with strong troubleshooting skills are critical to getting the plant up and running as quickly as possible.
Maintenance professionals in utility, industrial, and commercial contexts must be able to safely and effectively diagnose electrical systems. While repairing electrical breakdowns, the maintenance professional may face concerns such as locating damaged components, recognizing power quality concerns, and troubleshooting circuits, to name a few. The well-trained technician of Charlotte will be conversant with methods for fixing problems in the shortest period possible while adhering to industry best practices.
The purpose of this article is to discuss fundamental electrical troubleshooting procedures. It presents an analytical method for diagnosing electrical control systems that are routinely employed. The proper safety methods for troubleshooting electronic systems will be thoroughly addressed. You can also take assistance from Electricians In Charlotte NC when you need it.
Problem Analysis
It’s a good idea to consult equipment or operating instructions and drawings before you start looking for the source of any electrical problem. Are there any records of the equipment’s history? If that’s the case, go over them again so you’re aware of any recurring issues. Work orders, remarks, and reports should all be found. Also, before you start troubleshooting, attempt to gain a sense of how the equipment operates.
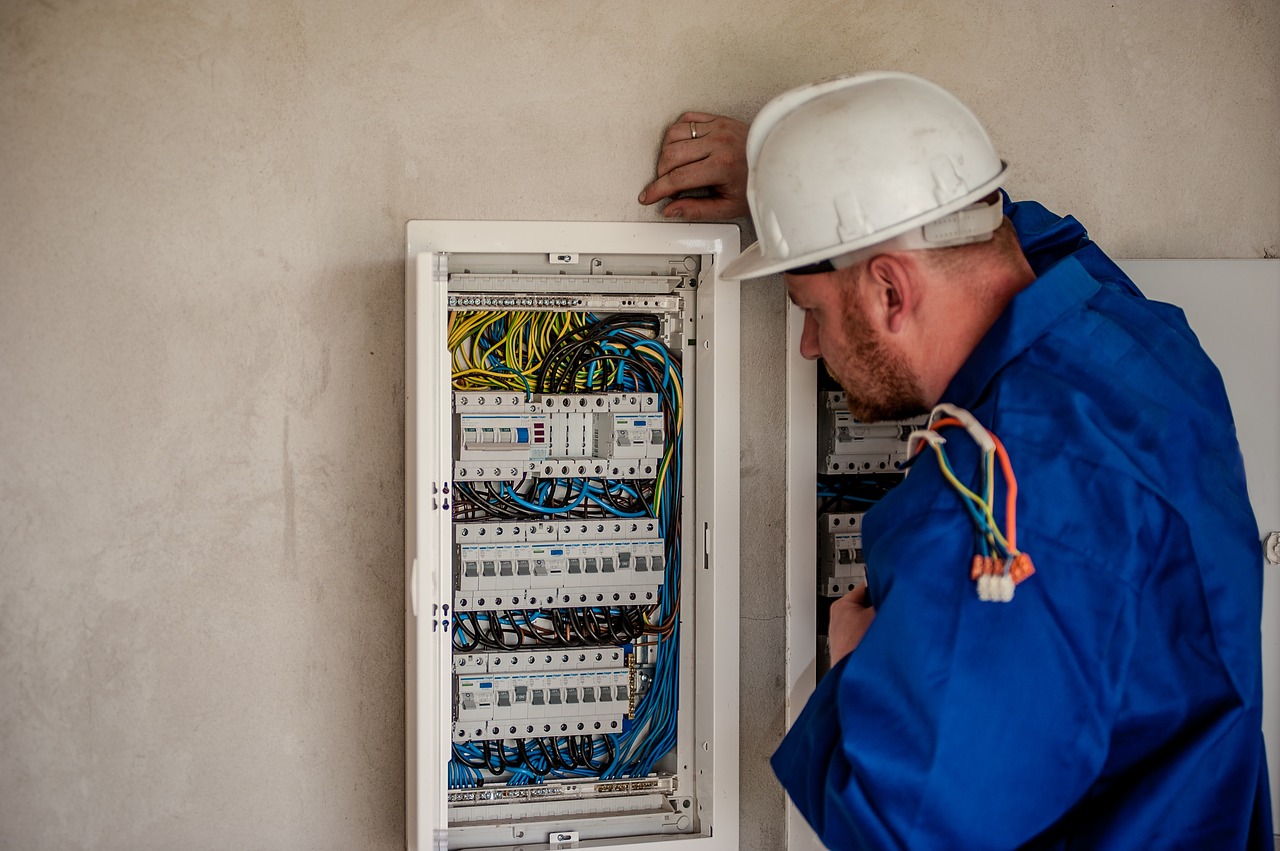
Look for indicators of damage, such as worn wires, loose components, or signs of impact, when you start your investigation of the equipment. You should also look for symptoms of overheating in the wiring, relay coils, and printed circuit boards. Use your sensory experiences: burned insulation has a distinct odor; listen to the equipment while it’s running to see if anything sounds weird; and last, check temperatures (carefully!) to see if any components are higher than they should be.
Keeping Track of Faults
The faults are classified into two groups:
- A function that isn’t performed because of a fault in the electrical system. The following are some possible causes:
- blown fuse
- bad contact
- loose wire
- defective coil or coil lead
- A function is carried out incorrectly. This is caused by incorrectly inserted components or connections, including:
- Wires coming into contact.
- Deteriorated insulation as a result of dirt or extraneous objects.
- Setting the time delay is either too short or too lengthy.
- Malfunctioning field device feeding the logic with incorrect data.
- A frozen contact must also be considered. However, this is extremely unlikely with current relays.
Although preventive maintenance lowers the likelihood of failures, it will not fully eliminate them. Apart from equipment failure, shutdowns can occur due to various causes. Shutdowns will be triggered by traffic jams, emergency stops, and other similar events. When this happens, the system must be brought back under control as quickly as possible.
Troubleshooting Logic
- The act of observing
Check for loosened components, bits in the bottom of the cabinet, or indications of overheated components as visual symptoms of malfunctioning equipment. Remember to use all of your instincts, including smell, hearing for unusual noises, and touching to detect extreme heat or loose components. Moreover, if feasible, fully test and run equipment, noting what works and what does not.
- Define the issue areas
Determine which elements of the circuit are working properly and which are not based on your findings. Any components of the circuit that are working well can be removed from the troublesome areas, reducing the amount of inspection time required later.
- Determine the source of the problem
After you have pinpointed the source of the problem, you may start making a list of possible reasons. Consider every possible cause of the problem and assign a likelihood rating to each. Blowing fuses, mechanical components, terminal connections, windings and coils, and wiring are all examples of possible causes.
- Probable Cause Test
You can start testing now that you have a list of the most likely causes. Begin with the most likely reason. Before taking a meter reading, always know exactly what to expect and what it implies if the reading differs from what you projected. Based on your findings, you may have to substantially sectionalize the circuit to lessen the problem area. Carry on in this manner until you locate a questionable component or wire.
- Replace the component and run the test again
Once you’ve established that a component is damaged, replace it and test the entire circuit. Please ensure you examine all of the circuit’s features and functions. Return the device to service if everything is working properly. If the circuit still doesn’t work, you’ll need to go back to step one and rethink your rationale.
Tools for the Job
Electrical troubleshooting can be done with various tools. A basic multimeter is a good place to start, and it’s usually all you’ll need for the majority of your testing. A standard multimeter can measure AC and DC voltages, resistance, and modest current flows. A clip-on ammeter for gauging the operating current would also be a fantastic addition. Let’s have a look at what these tools can achieve and when they should be used.
- Voltmeter
A voltmeter is used to measure the amount of AC or DC volts in a circuit and is the best tool for locating open circuits. Before taking test measurements, be sure your meter is working properly on a recognized voltage source. One lead should be used as a reference lead and kept on neutral or ground. Select terminals for the test points with the other lead.
- Ohmmeter
An ohmmeter measures circuit resistance and is useful for detecting open coils, short circuits, and burned-out light bulbs. Before taking an ohmmeter measurement, make sure the circuit is turned off and locked out, and ensure to connect the leads and take a reading to ensure the meter is working properly. Before collecting a measurement, always disconnect one wire from the device to confirm there are no parallel routes in your reading.
- Clip-on Ammeter
A clip-on ammeter can be used to determine current draw while elements are in use. It’s possible that a motor using more current than usual has old bearings or is overloaded. The clip-on ammeter can also be used to check current flows in various portions of a circuit.
Safety is paramount
Every year in Charlotte NC, fatalities in the electrical trades happen. Interestingly, the majority of these deaths are due to falls instead of electrocution. That means that electricians, on the whole, are respectful of electricity and adhere to safety protocols. Working with electricity can also result in flash burns from explosions and also lead and asbestos exposure in the surroundings.
Conclusion
If you require additional circuits, your best choice is to take the initiative and change your panel to the latest type. Then you won’t have to worry about running out of power or space afterward. Regularly checking your electrical circuits is suggested to avoid long-term damage to your electrical system and equipment, as well as costly downtime.


